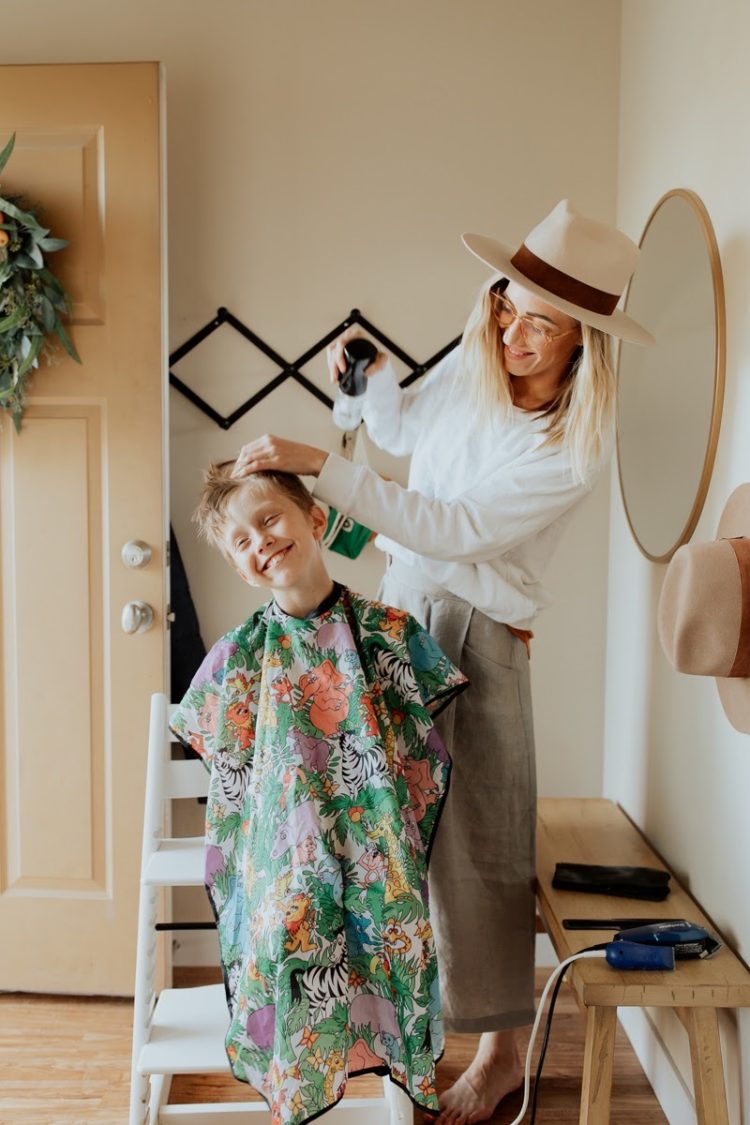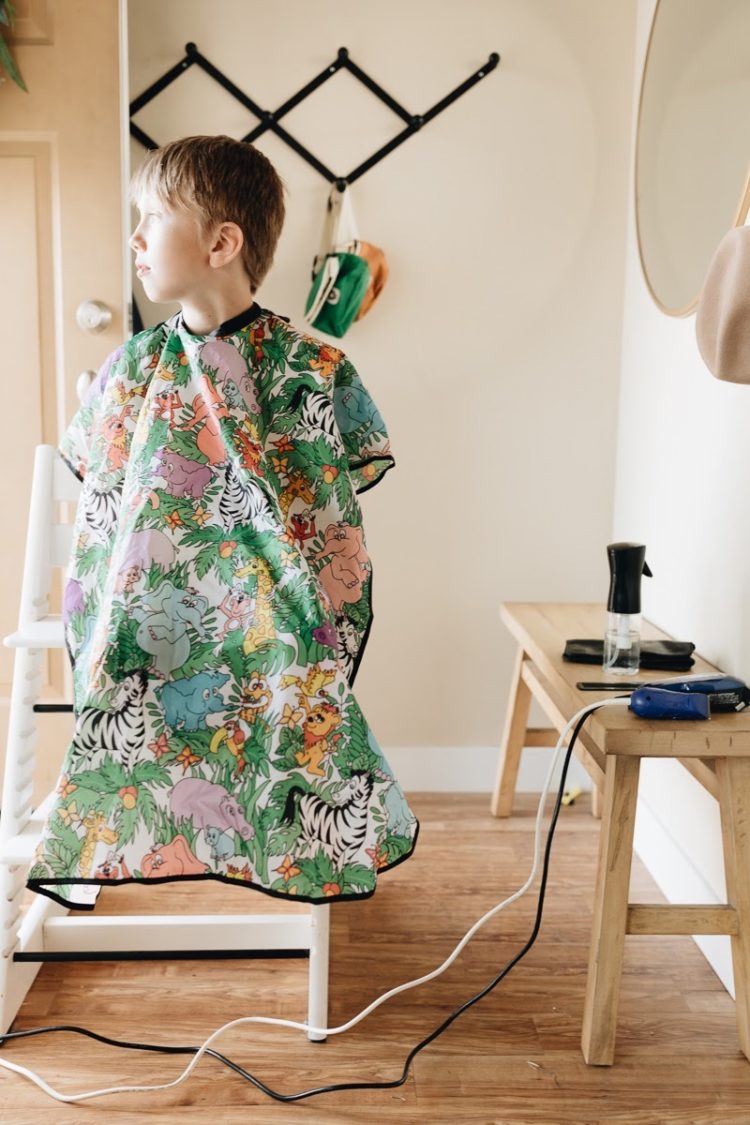
The boys definitely need hair cuts! I’m sure many of you #boymoms can relate because short hair grows fasssst. I am excited to put all of my hair school hours to use to help you learn the ropes for cutting in your own kitchen! DOCUMENT IT. Looking back is so fun. #parrishkitchentrim.
Just remember – – – hair always grows back + we aren’t going anywhere right now anyways, so it’s okay if you mess up. Hair is forgiving!

You can find the video of me cutting Jonah’s hair on IGTV or sharing some tips below
Tips:
A successful home hair cut is dependent upon the BRIBE before it starts! My boys love:
Popsicles
Suckers
A movie or show that they haven’t seen yet
- COMMIT to the hair cut + be okay with finding stray hairs that need a little trim trim over the next few days as it settles. 🙂
- PRO TIP: what YOU wear matters. Throw on a tee you don’t care about + take off your bra. Only thing worse than tiny little hairs up in there is sand in your bed. (No, you can’t wash it out, however many times you try)
- Take breaks after each section for both of your sanity to stay in tact.
Tools:
- clippers : to trim the sides + the back.
- peanut tool : will help with small detailing around the ears (optional) – you can also use your clippers without a guard on.
- cape : If you don’t have a cape, drape a towel around them + fasten with a clothes pin, chip pin or hair clip. Or just do no shirt. If you’re grabbing a cape, I recommend getting a kids size – – – it will fit snug on the boys to prevent hair from going onto them + still fits Juan.
- mist water bottle : LIFE CHANGING GOOD! I like to put a little drop of leave in conditioner in it if the boys hair isn’t totally clean. If you don’t have a spray bottle, just get your comb wet and then comb the top of the hair.
- Comb : fine tooth + one that glides easily through hair.
- Clips : to hold the top hair out of the way. Especially helpful in rigg’s euro-hawk hair.
- Sharp scissors : hit up your hair dresser friend or amazon, or even find sharp fabric shears or kitchen scissors you have laying around the house.
How to Cut:
1.Use your clippers first (on dry hair). The smaller the number setting, the shorter the hair will be in the end. The longer the hair is the more forgiving it is. Number 3 is a great place to start. You can always take it shorter, you can’t glue it back on. We used a 4 on Jonah + then went to a 2.
2. Part your top hair off + use your clippers to buzz the sides + back up to the occipital bone (where the comb bends on all sides). Keep the top long, we will blend at the end!
3. For cutting the top, longer part of their hair (wet hair) – – – make your guide first + then pie part around the top of their head to cut the rest of the hair. Point cut with the tip of the scissors to have a more pieced out/texturized look (just be careful not to cut your fingers). It’s also a more forgiving way to cut than straight across.
4. My kids never sit up straight, so I have them stand up at the end to get their neckline straight. You can take the guard off or use the peanut tool to do the finishing clean up work around the ears + neckline in the end.
COMING SOON TO IGTV :
mastering the style
5. Dry hair COMPLETELY before you put on product for styling. This goes for everyday styling as well. Gel is meant to be used on dry hair not wet.
6. Spray hairspray in the direction you want the hair to stay.
7. Blow dry into place if they will let you (the style will last all day if you do). My boys like to help with this part, just don’t hold it for too long in the same place on high heat.
Be sure to check out my IGTV if any of the steps seem confusing. I will show you there exactly how to do it + tag us if you end up giving this a try, I want to see how it goes!
xx

